Table of Content
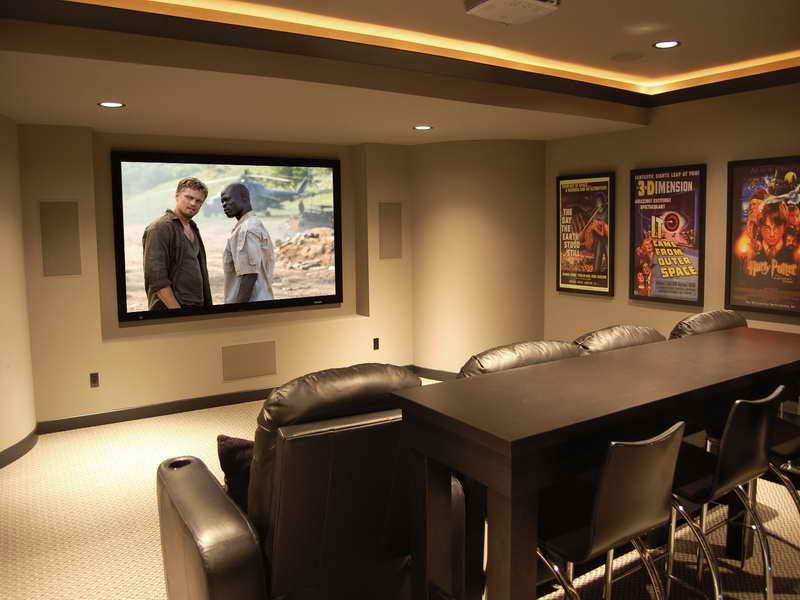
If you have multiple rows of seating, you may need to go a bit higher to keep clean sight-lines for people sitting behind the first row. Also take into account anything that will sit below the screen, like a center speaker or entertainment center. This is a popular go-to solution of home theater designers.
Post calibration for SDR resulted in User picture mode being calibrated to peak 16.6fL/57.1 nits in my dark theater room. The Formovie Theater, released in the U.S. in September of 2022, made a splash on its arrival for several reasons. One was how well it performed against a slew of competitors at the ProjectorCentral/ProjectorScreen.com 2022 Laser TV Showdown.
Installing The Wall for Music Industry Legend, Clive Davis
An important note regarding calibration of this unit is that since it has a laser phosphor plus RGB laser light engine it has a very narrow bandwidth for its color channels of RGB. I verified this by measuring the spectral power distribution , which showed very narrow peaks for the red and blue primaries. To have the most accurate calibration of this unit a spectroradiometer with a minimum sensitivity of 4 nanometers or less really should be used, as anything less will yield slightly-off results when making adjustments. When Color Space was set to On it mapped the color Gamut of Rec.709 correctly with slightly less accuracy at some targets, but nothing noticeable to the eye, while providing an overall better image. I have the Sanyo Z3 and the lens shift allows for one full screen shift up or down and for half the screen's width shift to either side though it is not possible to use both the shifts to their full limits.
Second, temporarily mount the frame on the wall and check that it is horizontally level and vertically plumb. You may need to use shims between the frame and wall in order to achieve a plumb screen. Third, take down the frame and attach the actual screen to the frame. Fourth, re-mount the frame and double-check horizontal level and plumb.
Pure Resonance Audio C6 and C8 70-Volt Speakers
The light source behind the Formovie Theater is the ALPD 4.0 RGB+ triple laser. This hybrid design is effective—during my time viewing the Formovie Theater I did not observe any speckle in any content. Also, while watching normal content I did not experience any rainbows, which can potentially be visible with any single-chip DLP projector regardless of having an RGB light source that eliminates the usual color wheel. If one were to really look for it with specific content, you can make any DLP projector show some rainbow effect, but I'm pleased to say that in my normal viewing I did not see any.
Another example of a high-end audio/luxury brand collaboration that makes sense. The Devialet Dione Opéra de Paris Soundbar marches down the Champs-Élysées to its... Can a wireless turntable really deliver the same experience as one wired directly into your system? You might want to start saving if these are in your price range.
Horizontal lens Shift: How far off to the side?
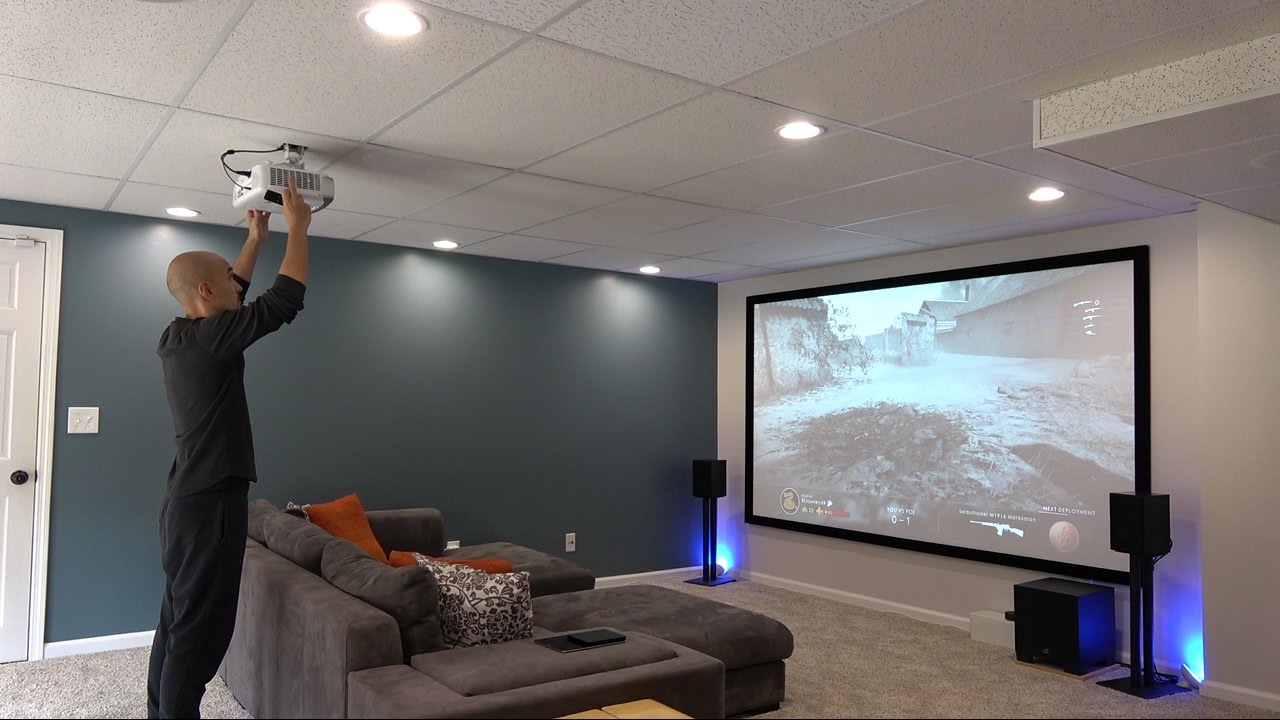
Next, you need to determine the exact location the ceiling plate should be mounted. Your goal here is to completely assemble the mount while the projector is still sitting on the ground. As you can see in the image below, that distance was about 6” for this install. Carry over that measurement to where you marked the ideal lens placement on the ceiling earlier in the install. In this install, that would mean that I simply measure back from the lens mark six inches, and that’s where the front of the ceiling plate should be. If the ceiling plate isn’t centered side-to-side with the projector lens, you will also need to take into account that distance.
In either case, you'll either need a stable place to stick the projector, or some way of mounting it onto the ceiling or the wall. Floor-mounted projector setups are unusual—if that's your game, though, by all means. 10'6" is a pretty good throw distance and should be good for most projectors on a 92" screen. › Digital Light Processing , awarded 2015 Academy Award of Merit (Oscar®statuette), is the leading projection technology used in 90% of world's digital cinemas and 100% of IMAX theaters.
Additionally, after watching a few movies you might find, much to your displeasure, that you prefer the screen higher or lower. It is for these reasons we recommend you mark out your ideal screen placement on the wall using painter’s tape and only mount it after the projector is installed. Make sure that you mark out the viewing area of the screen, not the outside edge of the frame. As you compare projector features and performance, it’s also a good idea to keep a few installation issues in mind. First, you’ll want to have at least a rough idea of how large an image you want to project, because that will affect the distance between the projector and your screen. With any projector, the further you position it from your screen, the bigger the image will be.

The front of the projector needs to be as close to parallel as possible with your projection screen or surface. Although with this sort of mount one has to be critical with leveling whilst setting up. SimpTech Solutions offers a full-range of services from audiovisual system design to installation and support. We have industry-certified AV system integrators on staff who are well versed in all the latest technologies and functional design. Subwoofer – There is no fixed position here since low bass frequencies are omnidirectional. Placing your subwoofer near a wall will generally result in more bass.
If the projector is pointing up or down, you will have issues with pitch. The projector should be pointing straight forward, perpendicular to the screen. If pitch is set correctly, the left and right sides of the image will be parallel. The easiest way to dial in pitch is to set a small torpedo level on the projector, oriented so it is perpendicular to the screen, and adjust the mount until the projector is level. You are almost done, but now comes what I think is the hardest part of the entire process. Fine-tuning can be time consuming, frustrating, and uncomfortable, unless that is, you enjoy holding your hands over your head for extended periods of time as you repeat the same steps over and over.
Do not be tempted to proceed with a home theater installation before doing detailed planning of your home theater room design. Inappropriate plans can affect the theater experience but can also lead to costly mistakes. Even though this article concentrates mainly on the dedicated home theater room design, most of the principles discussed still apply in a shared environment. The lens of the projector should be parallel to the center of the screen if you’re using a vertical offset. Otherwise, don’t believe in this misconception, as it doesn’t apply to affordable projectors with no vertical offset.
Another scene that did very well was when Maleficent went to the castle where she cast her curse on the baby Aurora. The scene didn't suffer too much from lifted blacks; you might notice some if you have seen this scene a lot, but it overall looked really good. The detail in the costumes, and the green effect coming off Maleficent while she finished her curse, all rendered very well. Additionally, the projector offers one 3.5mm analog audio output, one S/PDIF optical output, two USB 3.0 Type A inputs which can be used for media playback, and one LAN port to use in lieu of Wi-Fi.


No comments:
Post a Comment